

Blog
Desktop Laser Cutter Assembly Guide for Jewelry Manufacturers OEM Factory

Desktop Laser Cutter Assembly Guide for Jewelry Manufacturers OEM Factory
Most assembly errors stem from rail parallelism deviation, not loose screws.
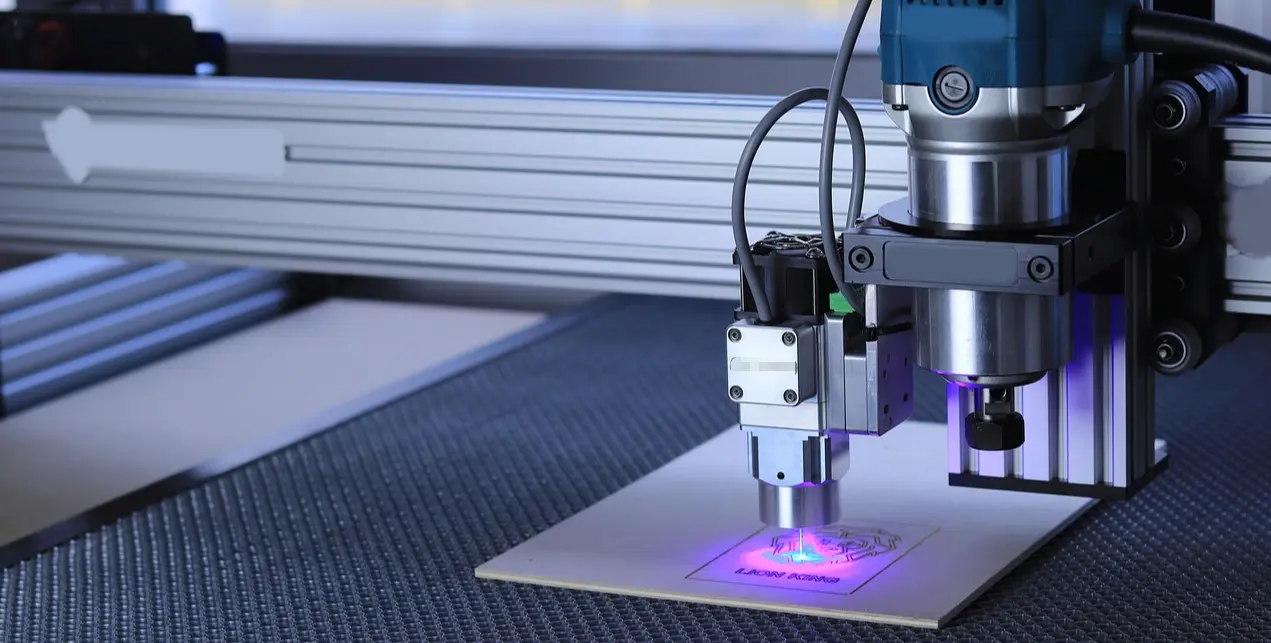
Proper assembly of a desktop laser cutter requires verifying rail parallelism with digital dial indicators and aligning the optical path using the reflection point method to ensure consistent cutting precision. Skipping these calibration steps during installation leads to focus offsets and material waste, regardless of the machine’s rated power or software capabilities.
I still remember the humidity in Monterrey, Mexico, clinging to the walls of a small jewelry workshop. The owner was furious, pointing at a tray of silver rings that looked like they had been chewed rather than cut. Every piece had heavy burrs along the edges. He had followed the generic manual included with his new machine, tightening bolts until his knuckles turned white, assuming that rigidity equaled precision. But when I pulled out a digital dial indicator, the truth was obvious. The linear guides were not parallel. The deviation was subtle to the eye but catastrophic for the laser beam. The focus had shifted by more than two millimeters across the working area, turning what should have been a clean cut into a thermal mess that scrapped an entire batch of precious metal. That day reinforced a lesson I carry into every installation: precision is determined during assembly, not just operation. [NEED_CITE: impact of mechanical alignment on laser cutting quality]
This guide breaks down the critical steps for assembling and calibrating a desktop laser cutter, focusing on the mechanical and optical foundations that define performance in jewelry manufacturing. By following these methods, you can avoid the common pitfalls that turn high-tech equipment into unreliable tools.
Why Does My Jewelry Laser Cutter Produce Burrs?
Burrs are primarily caused by misaligned rails and focus offsets, not poor material quality.
When a laser cutter produces rough edges or excessive slag on silver or gold sheets, the immediate instinct is often to blame the lens quality or adjust the power settings. However, the root cause is frequently mechanical. If the gantry moves on skewed rails, the laser head does not travel in a straight line relative to the material. This causes the focal point to drift vertically as the head moves across the bed. Even a slight deviation means the laser is no longer focusing at the surface of the metal but slightly above or below it. This defocused beam spreads its energy over a larger area, melting rather than vaporizing the material, which results in the characteristic burrs seen in poorly calibrated machines. [NEED_CITE: relationship between focal position and cut quality in metal processing]
In jewelry work, where tolerances are tight and materials are expensive, this inconsistency is unacceptable. A properly assembled machine ensures that the optical axis remains perpendicular to the material surface throughout the entire cutting path. Without this geometric integrity, no amount of software compensation can fix the physical reality of a drifting beam.
How to Calibrate Rails for ±0.1mm Precision?
Use digital dial indicators to verify rail parallelism before tightening guide wheels.
The foundation of any precision cutting machine is its motion system. In a desktop laser cutter, this usually consists of linear guides or round shafts that support the gantry. The most critical aspect of installing these components is ensuring they are perfectly parallel to each other. If one rail is even a fraction of a degree off, the gantry will bind or skew, causing uneven wear and positional errors. [NEED_CITE: ISO standards for linear guide installation]
To achieve the necessary precision, follow these steps:
- Loosen all mounting bolts: Start with the rails loosely attached to the frame. Do not tighten them yet.
- Align the reference rail: Choose one rail as your master reference. Align it strictly with the edge of the machine frame or a known straight edge. Tighten its bolts securely.
- Measure parallelism: Place a digital dial indicator on the gantry carriage. Move it along the second rail while measuring the distance to the reference rail or a fixed point on the frame. Adjust the position of the second rail until the reading remains constant within the required tolerance.
- Tighten sequentially: Once parallelism is confirmed, tighten the bolts of the second rail in a cross pattern to avoid distorting the rail. Re-check the measurement after tightening, as stress can shift the alignment.
- Adjust guide wheels: If your machine uses eccentric nuts for tensioning, adjust them so the gantry moves smoothly without play. There should be no wobble, but also no excessive resistance.
During a recent installation for a client in Southeast Asia, we found that the factory-pre-installed guides had shifted during shipping. By re-calibrating the parallelism using this method, we restored the machine’s ability to hold ±0.1mm precision. This level of accuracy is essential for intricate jewelry designs where even a small deviation can ruin the fit of a setting. Realtop Machinery addresses this by using high-precision guides that are pre-aligned and secured with locking agents to minimize shipping displacement, backed by remote calibration support if adjustments are needed on-site.
What Is the Correct Optical Path Alignment Method?
Ensure the laser beam hits the center of each mirror and the nozzle tip using the reflection point method.
Once the mechanical structure is stable, the optical path must be aligned. The laser beam travels from the source, reflects off several mirrors, and passes through a focusing lens before exiting the nozzle. If any mirror is misaligned, the beam will strike the side of the nozzle or miss the lens center, causing power loss, lens damage, and inconsistent cuts. [NEED_CITE: laser optical alignment best practices]
The standard procedure for alignment involves:
- Check the first mirror: Fire a low-power test pulse at the first mirror. Adjust the mirror’s angle until the beam reflects directly into the center of the next mirror’s aperture. Use thermal paper or acrylic to mark the burn spot for visibility.
- Align subsequent mirrors: Repeat the process for each mirror in the chain. Ensure the beam enters and exits each mirror assembly at the same height and center position.
- Final nozzle alignment: The final step is to ensure the beam exits the nozzle perfectly centered. Place a piece of tape over the nozzle opening and fire a weak pulse. The burn mark should be in the exact center of the tape. If it is off-center, adjust the last mirror until it is centered.
- Verify verticality: Check that the beam is perpendicular to the material surface. Cut a thick piece of acrylic and examine the kerf. It should be straight and uniform from top to bottom. If it angles, the optical path is not vertical.
Misaligned optics do not just reduce precision; they waste energy. A beam that clips the edge of a mirror or lens housing loses significant power, forcing the operator to increase settings to compensate. This not only slows down production but also shortens the lifespan of expensive optical components. Proper alignment ensures that the full power of the laser is delivered to the workpiece efficiently.
How to Maintain Cooling Systems for Stable Output?
Prevent thermal lensing through regular coolant checks and filter cleaning.
The cooling system is often overlooked during assembly and maintenance, yet it plays a vital role in maintaining consistent laser output. The laser tube and optical lenses generate heat during operation. If this heat is not dissipated effectively, it causes thermal lensing, where the focusing properties of the lens change due to temperature gradients. This leads to a shifting focal point and inconsistent cutting depth, especially in longer jobs. [NEED_CITE: effects of thermal lensing on laser cutting stability]
To maintain optimal cooling performance:
- Monitor flow rate: Ensure the water chiller or pump provides a steady flow of coolant. A restricted flow can lead to hot spots in the laser tube.
- Use distilled water: Always use distilled or deionized water to prevent mineral buildup inside the tubes and laser head. Tap water contains minerals that can precipitate and clog narrow channels.
- Clean filters regularly: The intake filters on chillers and pumps can become clogged with dust and debris. Clean them weekly to maintain airflow and cooling efficiency.
- Check for leaks: Inspect all hoses and connections for signs of leakage. Even a small leak can introduce air into the system, reducing cooling efficiency and potentially damaging the laser tube.
In a case involving a workshop cutting multi-layer leather and thick acrylic, inconsistent cutting depth was traced back to an inefficient cooling cycle. The chiller filter was clogged, causing the water temperature to rise during extended runs. This thermal instability led to a noticeable reduction in cutting speed and quality. After cleaning the filter and replacing the coolant, the machine returned to stable operation. Regular maintenance of the cooling system is a simple but critical step in ensuring long-term reliability.
Conclusion
Precision in jewelry laser cutting is built during assembly, not adjusted during operation.
A desktop laser cutter is only as accurate as its mechanical foundation and optical alignment. By prioritizing rail parallelism and precise beam path calibration, manufacturers can avoid costly material waste and ensure consistent quality. Regular maintenance of the cooling system further supports stable performance over time. These steps transform a standard machine into a reliable tool for high-precision jewelry manufacturing.

